A Knitting Tangent
How to Work a Loop Color Change
How it works
This method allows you to change colors at the end of a row without hiding any yarn ends. It turns each end into a loop and essentially allows you to hide the end back along itself. Please note that this technique only works with yarns that can felt. For tools, you’ll need a felting needle and a darning needle.
Before you begin
Before you start a project, you’ll first need to get two numbers, the Remaining St Count and Color Change Length. You’ll only need to do this once per project.
Step 1: Make a test swatch. Work several rows, and then work one row until 5-10 sts remain on left needle. The exact number doesn’t matter; just record this number as the Remaining St Count so that you can use it for every color change.
Step 2: Wrap yarn around needle once for every remaining st, and add one half wrap. Measure length from work to end of wrap; this is the Color Change Length. Using color change instructions below, change colors and work several rows with new color.
Step 3: Assess stitch tension at color change. Make Color Change Length shorter or longer as necessary to correct tension.
Color Change Instructions
When you’ve started the last row of the old color, work Steps 1-2 below to end the color. Then, work Steps 1-2 with the new color. That completes the color change.
Step 1: Make the loop
Note: Example photos show two strands of yarn held together. Each strand of yarn should be looped separately.
Step A (end of row only): Work across last row of color until only Remaining St Count remains unworked. Cut yarn a few inches longer than Color Change Length. 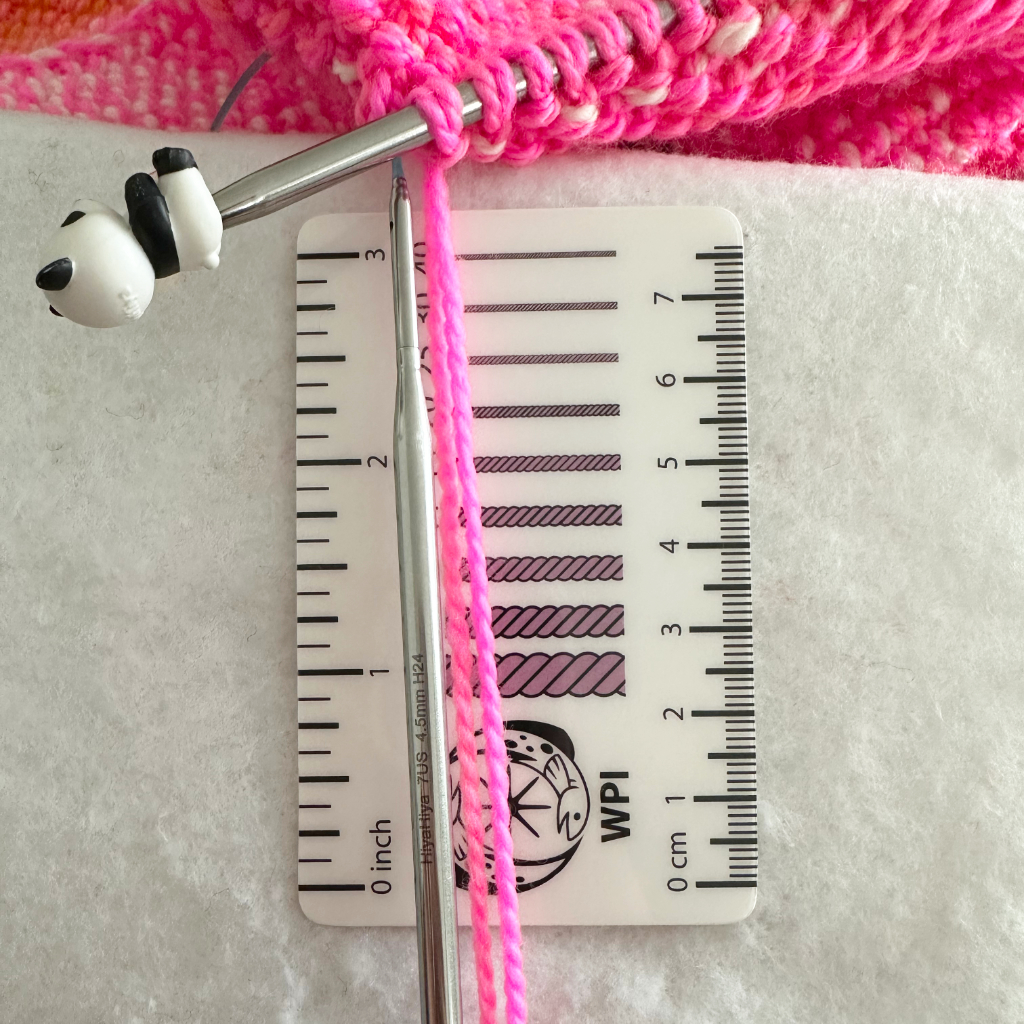
Step B: Use felting needle to make loop at end of yarn, leaving a tail of a few inches. For end of row only: Make sure the distance from work to top of loop equals Color Change Length (in photo below, this length is about 2.5 inches).
Loop should be sized to fit on needle loosely, with one exception: when the pattern uses a slip st selvedge. In this case, loop should fit tightly whenever first/last st of color is not first/last st of row. 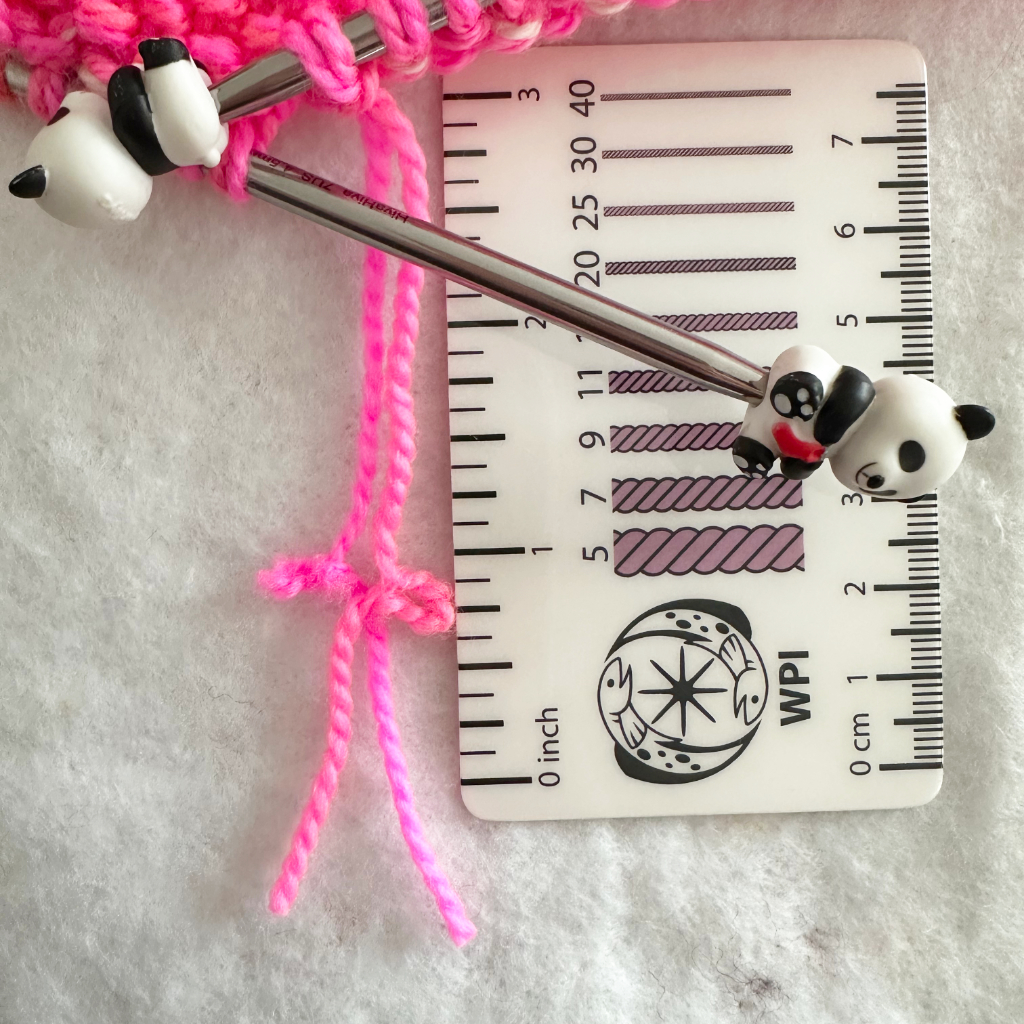
Step C: Thread yarn end back through center of yarn, as in a Russian join, starting just under loop. 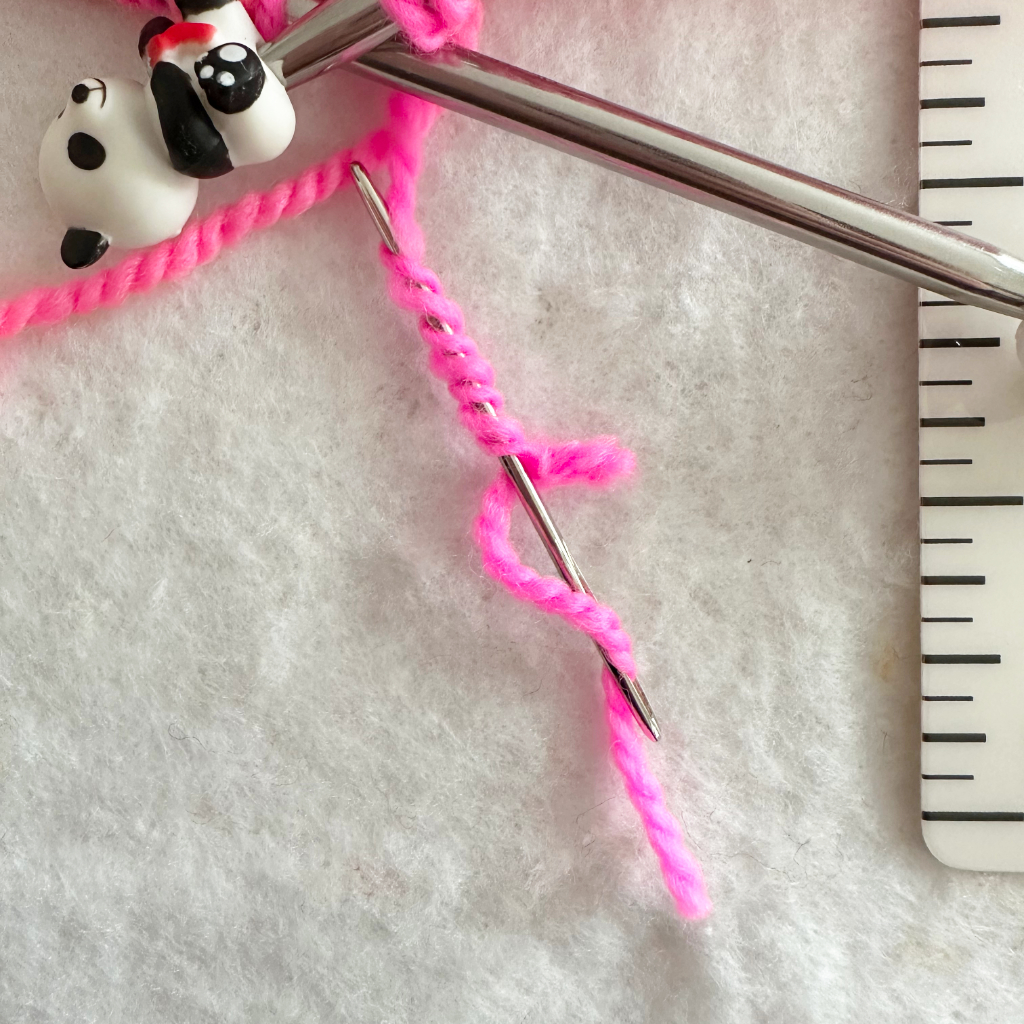
Step D: Cut loose end close to yarn to hide it in center of yarn. Use felting needle to neaten yarn if necessary. For end of row only: Continue working across row until one st remains. 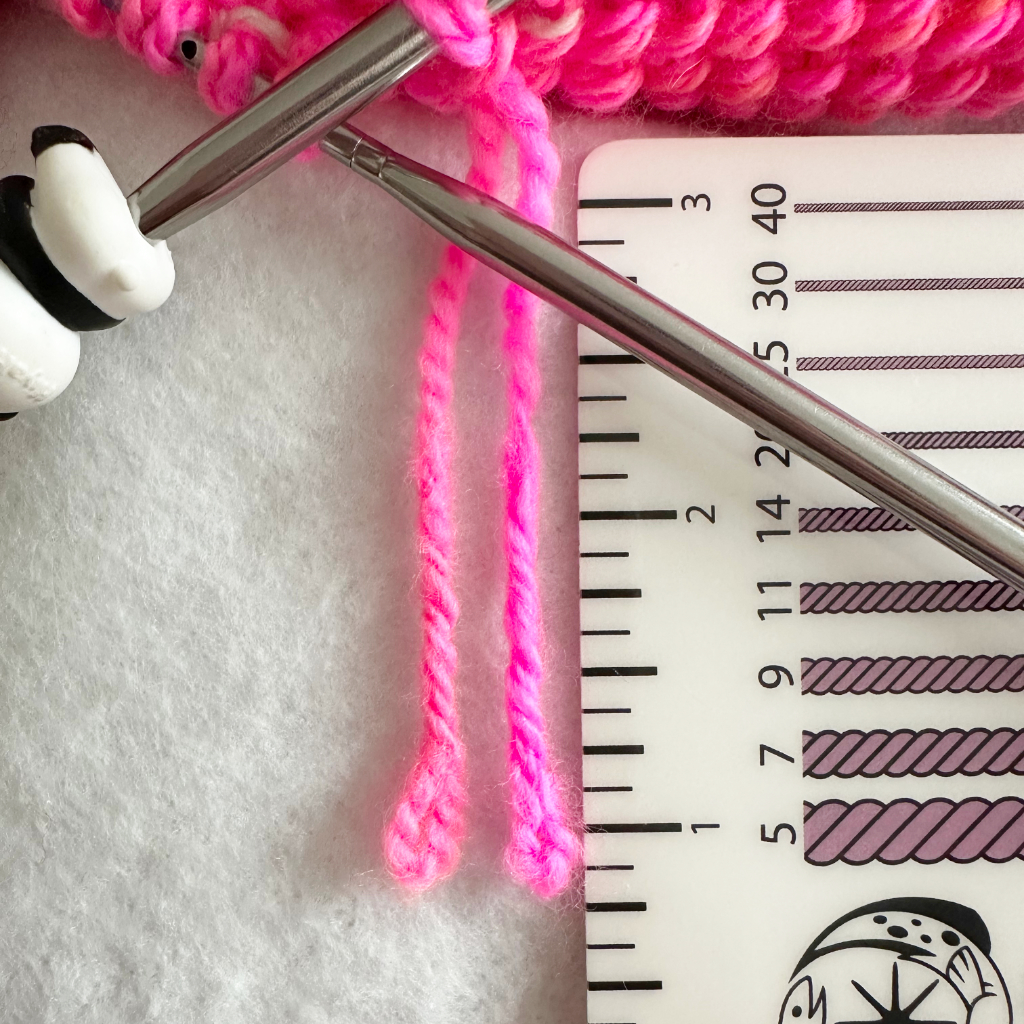
Step 2: Work the loop
Work first or last st of color change as follows:
1. Insert right needle into st as usual.
2. Instead of wrapping yarn over needle, place loop on right needle.
3. Pull loop through st and drop st from left needle as usual.
Work first few sts of row very tightly to maintain tension. Otherwise, work as usual.
If the last stitch is too tight to work
Due to the tight tension needed to make a neat color change, the last few sts of a row can be difficult to work. To make working these sts easier, try working the last st before the second to last st. Here’s how:1. Work until two sts remain. Slip next st to right needle and then work last st.
2. Transfer last st and slipped st back to left needle.
4. Work slipped st, using yarn connecting the two adjacent sts (as if slipped st were a dropped st from the previous row).
3. Transfer last st back to right needle.